
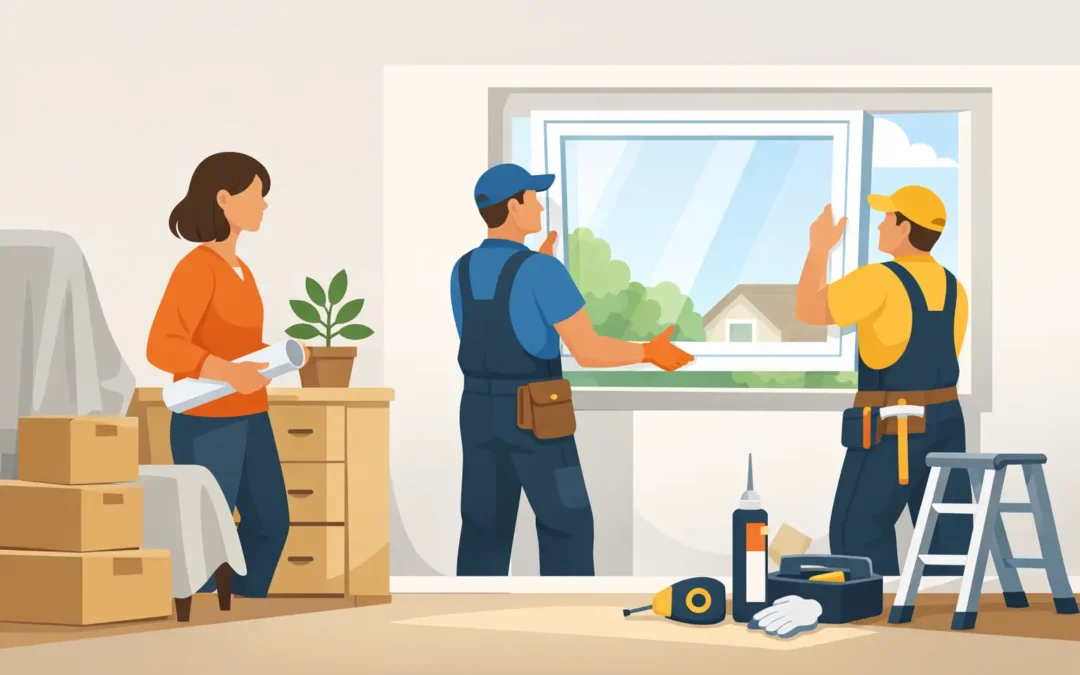
A new window can make a room feel warmer, quieter and noticeably smarter, but installation day is still a working day in your home. Knowing how to prepare for window installation helps the fitting team get on with the job safely, keeps disruption to a minimum and gives you fewer things to worry about.
Most preparation is simple. You do not need to turn your house upside down or take on jobs that should be left to the installers. A little clear space, good communication and realistic expectations go a long way.
Confirm the plan before installation day
Your survey should have established the window style, opening direction, glazing choice and any trims or finishing details. Before the fitting date, take a few minutes to check that you understand which windows are being replaced and whether there are any access considerations the team needs to know about.
This is particularly useful if your property has restricted parking, a shared driveway, a controlled parking zone or a narrow route to the rear of the house. Let your installer know in advance about gates, staircases, side access and anything else that could affect bringing frames and equipment in safely.
If you have an alarm sensor attached to a window, security cameras close to the work area or blinds fitted into the frame, mention this before the day. The installer can advise what needs to be disconnected and who should do it. It is better to clarify these details early than make a rushed decision while work is under way.
Clear the space around each window
Fitters need room to remove the old frame, bring in the new one and work safely from both inside and outside. Aim to clear a generous area around every window – ideally around one to two metres where the room allows.
Move furniture such as sofas, beds, desks and sideboards away from the work area. Smaller items, including lamps, ornaments, photos and electronics, should be removed altogether. Even when care is taken, replacing windows can create vibration and dust, so fragile items are safest in another room.
Take down curtains, nets and blinds if you can. This makes access easier and prevents fabric from collecting dust. If you are unsure how to remove a blind without damaging it, ask beforehand rather than forcing it. Some blinds may need to be taken down and refitted by their original supplier.
Do not forget window sills. Clear plants, candles, chargers and decorative items, including anything stored just below the sill. It is an easy area to overlook, especially in bedrooms and kitchens.
Protect belongings, but leave the fitting to the professionals
Window replacement is not usually as messy as a major building project, but there may be dust when old frames, plaster or sealant are removed. A professional team will use dust sheets and tidy up as they go, but homeowners can help by protecting anything that cannot easily be moved.
Cover nearby furniture with old sheets or lightweight dust covers. Roll back rugs where possible, particularly in hallways and rooms where installers will be carrying frames. If a carpet cannot be moved, ask whether extra floor protection will be used.
There is no need to remove the old windows yourself, scrape away sealant or take off external trims. Doing so can create avoidable damage, expose the property to the weather or make the work harder to assess. The installation team needs to see the existing opening as it is and will remove the old unit in the right order.
Make arrangements for children and pets
Installation involves tools, open apertures, lifting and regular trips in and out of the property. For everyone’s safety, keep children away from the rooms being worked in. If possible, arrange an outing, childcare or a quiet space at the other end of the house for the busiest part of the day.
Pets also need a secure, calm place away from open doors and windows. Cats can be particularly quick to investigate a newly opened route outside, while dogs may be unsettled by unfamiliar people and noise. A closed room, crate or a visit with a family member can make the day easier for them and for the fitters.
If you work from home, plan around noise and interruptions. Calls requiring concentration may be best scheduled for another location, especially when windows in your usual workspace are being replaced. The exact level of disruption depends on the number of windows, the property layout and the condition of the existing frames.
Keep access and parking straightforward
New frames, glass units and tools have to be handled carefully. Clear your driveway if it is being used for access, and leave a sensible path from the entrance to the rooms being fitted. Move bins, bikes, garden furniture and plant pots that could create a trip hazard.
Where on-street parking is the only option, reserve space where you can do so legally, or tell the installer about local restrictions. This is especially helpful in South East London and Kent, where parking can be tight and access varies greatly between properties.
You do not need to provide a constant clear route through the entire house, but installers should be able to move safely without squeezing past stacked boxes or trailing cables. If work is taking place upstairs, make sure stairs and landings are clear too.
Plan for security, heating and the weather
During replacement, an opening will be exposed for a short time. This is normal, but it means installation day is not ideal for leaving the house unattended for long periods. Someone responsible should be available to give access, answer practical questions and check the completed work with the team.
In colder weather, expect rooms to feel chilly while old windows are out. Turn heating down in the rooms being fitted if practical, and keep internal doors closed to contain draughts. There is no need to switch off your whole heating system unless you have been specifically advised to do so.
Rain does not automatically mean work cannot go ahead. Experienced installers plan around the conditions and protect the opening as they work. Very severe weather, however, can affect safety or the quality of finishing, so dates occasionally need to be adjusted. Clear communication is far better than pressing ahead in conditions that could compromise the job.
Check special features and finishing details
A replacement window should fit the property as well as the opening. Before work starts, make sure the team is aware of anything unusual nearby, such as tiled reveals, delicate wallpaper, newly painted walls, internal shutters or external render that has recently been repaired.
Older homes may reveal hidden issues once the existing frame is removed. Timber behind a window can have deteriorated, plaster may be loose, or an old opening may not be perfectly square. A good installer will explain what has been found, what needs attention and whether it affects the planned finish. In some cases, small making-good work is part of the fitting process; in others, specialist repair may be sensible before decoration.
It is also worth thinking ahead about redecorating. Even a carefully fitted window can require a little touch-up around internal reveals, particularly where old frames have been in place for many years. Wait until any sealant and finishing work has fully cured before painting, and ask the installer for guidance if you are unsure.
What to expect when the work is complete
Once the new windows are in place, the installer should show you how they operate. Test opening and closing, locking and ventilation positions before the team leaves. Ask about cleaning the glass, looking after handles and hinges, and any aftercare information you need to keep.
Take a walk around each room and look at the finish from both close up and a normal viewing distance. Minor settling or finishing questions are much easier to raise while the work is still fresh. Keep packaging, keys and paperwork together in a safe place.
A well-prepared home lets the installation team focus on what matters: fitting your windows properly, protecting your property and leaving you with a result you can enjoy. If anything about the day feels unclear, ask before the work begins – straightforward answers are part of a straightforward installation.
Recent Comments